VPN (Virtual Private Network) technology can help to create and encrypt a connection between LAN networks over the Internet. Also, local resource either on AWS or behind SonicWALL can be accessed securely through Site to Site VPN.
In this blog, we are showing how to create a VPN between AWS and SonicWALL UTM.
Create and configure VPN :
1. Login to AWS account.
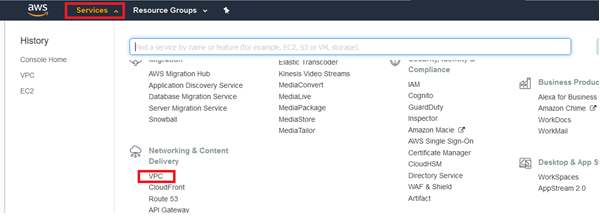
2. Open Services then select VPC.
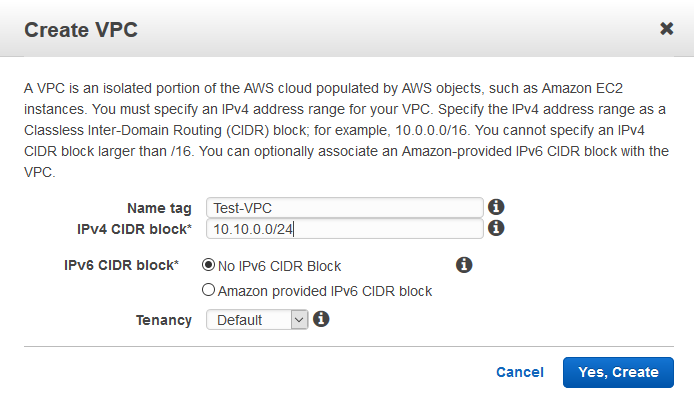
3. To create new VPC, this will act as mater subnet, click Your VPCs then hit Create VPC.

4. Put relevant Name tag, put IP in IPv4 CIDR block, no IPv6, and Tenancy as Default and click the button Yes, Create.
5. Now go to Subnets and click Create Subnet.
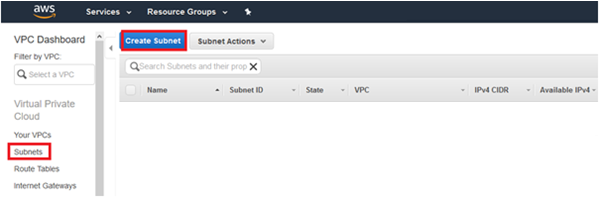
6. Put relevant Name tag, Select VPC created earlier, Availability Zone, mention required IPv4 CIDR block and click the button Yes, Create.
Hint : IPv4 CIDR block can be any subset of VPC subnet or it could be same as VPC subnet.

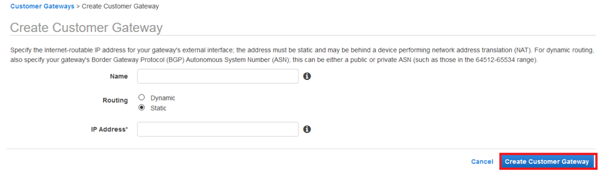
7. Go to Customer Gateways and click on Create Customer Gateway.
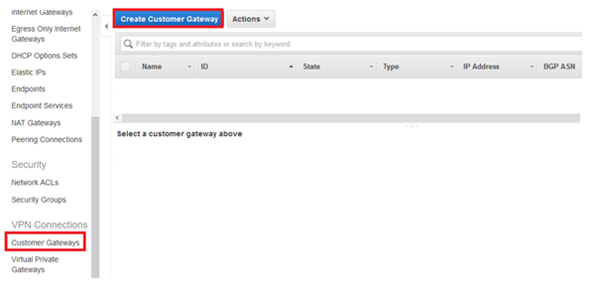
8. Put relevant Name, select Routing as Static, put IP device as IP Address and click Create Customer Gateway.
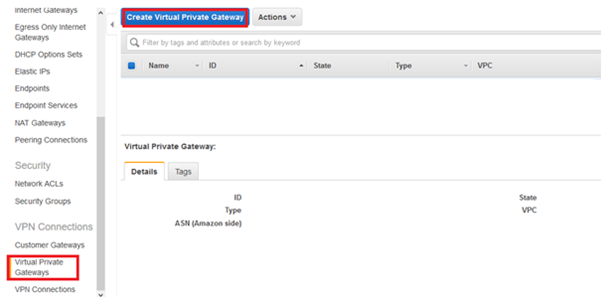
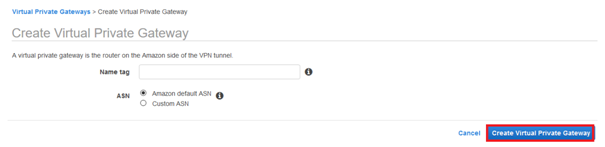
9. Go to Virtual Private Gateways and click Create Virtual Private Gateway.
10. Put relevant Name, select Amazon default ASN and click button Create Virtual Private Gateway.
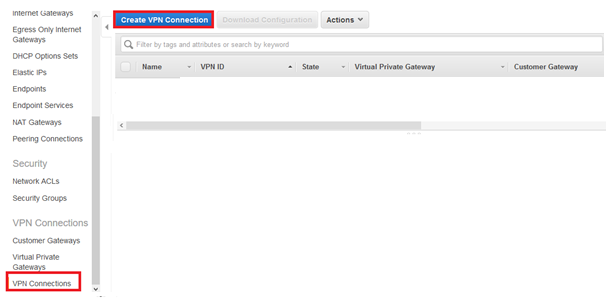
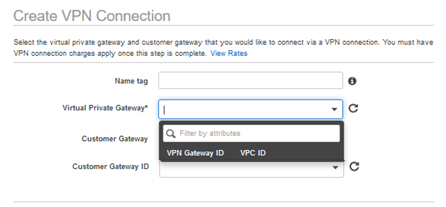
11. Go to VPN Connections and click Create VPN Connection.
12. Mention relevant Name tag and select the Virtual Private Gateway created in step 10.
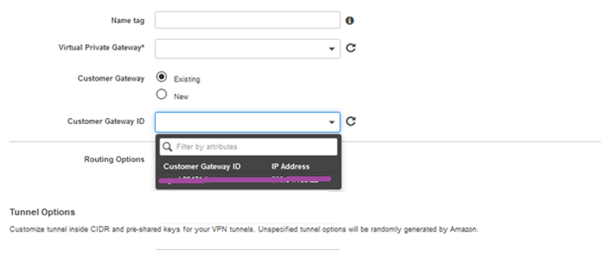
13. Now select Customer Gateway as Existing and select the Customer Gateway ID which was created in step 8.
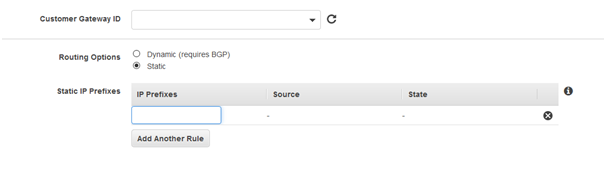
14. Select Routing Options as Static.
15. Mention internal network (LAN) behind the SonicWALL as Static IP Prefixes. This will create routes to the network behind the SonicWALL.
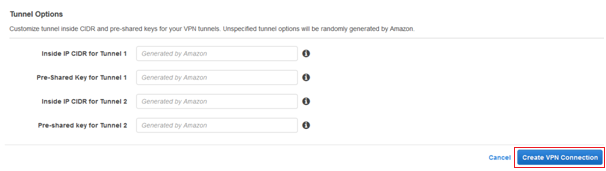
16. Leave the Tunnel Options blank and click Create VPN Connection, AWS will generate these for you.
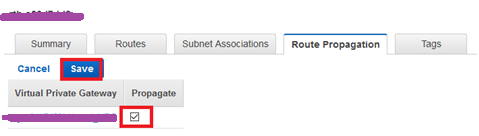
17. Now go to Route Tables > Select the required Route Table > under the tab Route Propagation > click Edit.

18. Enable route propagation for Virtual Private Gateway by putting check mark and click Save.
19. Go to VPN Connections > Select required VPN and Select Download Configuration.
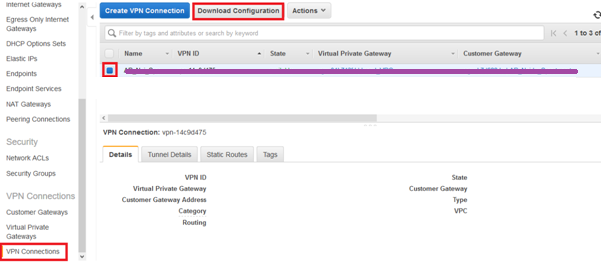
20. On the Download Configuration window, select Vendor as Generic, Platform as Generic, and Software as Vendor Agnostic and click Download button.

NOTE: Download the file and open it in any text editor software, Notepad++ recommended.
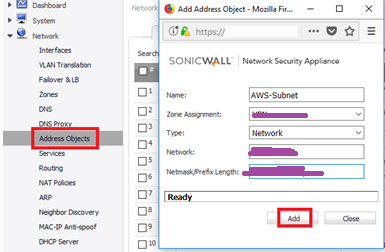
21. Now login to SonicWALL Web console and create address object for AWS subnet (AWS VPC).
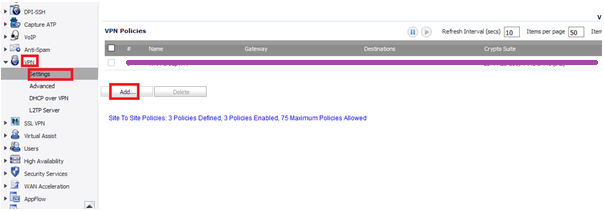
22. Navigate to VPN > Settings and click Add.
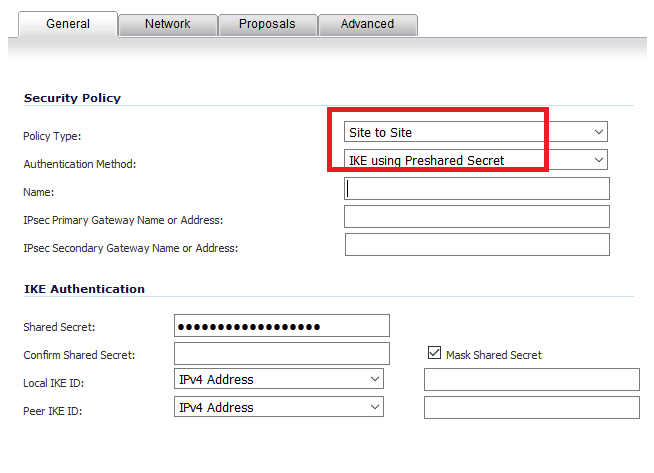
23. Under General Tab, Policy Type as Site to Site, Authentication Method as PSK, any relevant name.
24. Go back to the AWS VPN file, navigate to section “IPSec Tunnel #1”, search for “Virtual Private Gateway” and copy the IP to IPsec Primary Gateway.
25. Under section “IPSec Tunnel #1”, search for “Pre-Shared Key” and copy the key as Shared Secret.
26. Go to tab Network.
27. Select Any address for Local Networks and select the AWS subnet (created in step 23) as destination network.
Note : It is compulsory to select the local networks as Any address, else traffic will not pass. Verified on SonicOS Enhanced 6.2.7.1-23n

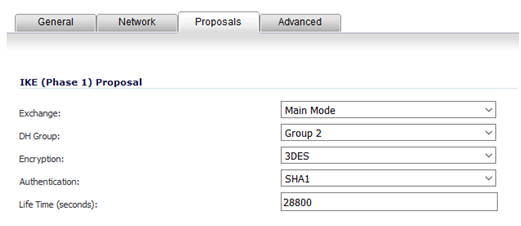
28. Go to Proposals tab, select Main Mode for Exchange.
29. Go back to the AWS VPN file, under section “IPSec Tunnel #1”, search for “Diffie–Hellman” and match the same on SonicWALL.
30. Search for “Encryption Algorithm”, “Authentication Algorithm” and “Lifetime” and match the same on SonicWALL.
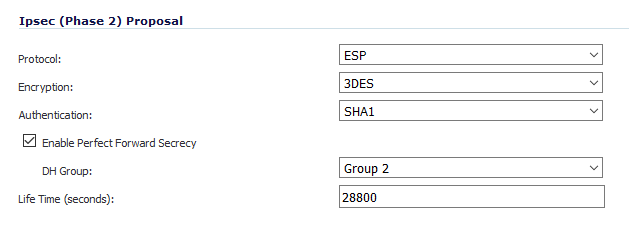
31. For “Ipsec (Phase 2) Proposal”, Go back to the AWS VPN file, under section “#2: IPSec Configuration”, search for “Protocol”, “Encryption Algorithm”, “Authentication Algorithm” and match the same on SonicWALL.
32. In SonicWALL enable Perfect Forward Secrecy and search for “Perfect Forward Secrecy” in AWS file, and match the DH Group on SonicWALL.
33. Search for “Lifetime” in AWS file, and match the same on SonicWALL.
34. Click OK to create the Tunnel.
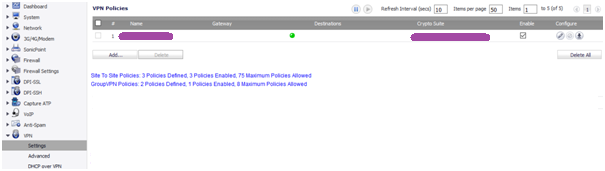
35. To Verify go to VPN > Settings and check for Green mark, access the traffic between the sites.


Hello there, Tidy write-up.
Wonderful blog! I found it while surfing around on Yahoo News. Many thanks!
Thanks for the article post.Really looking forward to read more. Fantastic.
Awesome blog. Much thanks again and really great article content.
Like!! I blog quite often and I genuinely thank you for your information. The article has truly peaked my interest.
This blog was… how do you say it? Relevant!! Finally I have found something which helped me. Thanks a lot!
A fascinating discussion is worth comment. I think that you ought to write more on this subject matter, it might not be a taboo matter but generally people don’t speak about these topics. To the next! Many thanks!!
Good content, really appreciate it!
Everyone loves it when folks get together and share different solution for the problem. Very very helpful content. Great website, continue the good work!
Its really a nice article. Thank you! Great.
Thank you for your blog post.Really thank you! Great.